Simply put, efficient and effective floor cleaning starts with the proper floor preparation. Ask most professional house cleaning services and they will tell you whether cleaning hard flooring in living rooms, bedrooms, bathrooms or kitchens obtaining professional results requires the right tools, cleaning agents and the proper cleaning techniques.
Read on to gain some professional insight by taking a few minutes to read what we’ve learned over the years about cleaning and caring for Pittsburgh homes which showcase hardwood floors and other hard materials used in flooring.
3 Steps To Simple Floor Preparation
- Clean anything above floor level that needs cleaned before you clean and mop your floors. Dust and dirt will naturally fall to the floor when cleaning any horizontal surface. It makes more work if you mop then clean then have to mop again. I know I’ve done it not once but twice! The simple rule is clean once, mop once. I’ve made the mistake of doing a floor first then cleaning above a few times. They say you can’t teach an old dog new tricks. I disagree, I’m living proof!
- Remove any light items that prevent easy access to the floor for mopping purposes. Trash cans, toys, small chairs, shoes and other light items that are in the way need to be removed before any actual floor cleaning takes place. Otherwise, you’ll be starting and stopping along the way which will make more work for you and give less than desirable results.
- Sweep, dry dust mop or vacuum your entire hard floor before mopping. Spend the extra time needed and pay close attention to what you’re doing. Dirt and debris left on the floor will turn to mud or a slimy mess and could possibly scratch your floor if pushed around with a wet mop. It’s a wise move to take the time to use a plastic scraper to loosen food stuck to the floor and any other grimy spots that would be difficult to mop. This is easier and faster than trying to loosen stuck on food with a wet mop. Being in the cleaning industry for many years has taught me that it’s extremely important to clean the floor well before mopping it almost as important as the actual mopping itself.
Let The Mopping Begin – Well Not Quite Yet
Okay, your floors have been prepared for mopping. So what’s stopping the show? Why can’t we mop yet?
Well for one thing it’s important to consider what type of material the floor is that you’re going to be mopping before selecting your cleaning product to mop with. At the end of the day, I have found there are basically two choices of cleaning products for mopping depending the floor material to be mopped.
Tile, stone, slate, marble and linoleum come clean with plain old ammonia and cool water. Ammonia is very inexpensive, is a mild disinfectant and doesn’t streak or discolor these types of floor materials.
Ammonia usually comes as a white liquid, but I have seen it come in a light yellow. Both clean equally well and won’t streak.
Ammonia dries quickly and when dry won’t harm children or pets. Ammonia, as most folks know, has a strong smell that evaporates quickly as it’s drying. Call me strange but I love the smell of ammonia.
Wooden floors which also includes composite material that looks like wood should be mopped with any wood product that is PH neutral. Although it will clean well, but contrary to what some people think, vinegar is a very poor choice for any wooden or composite floor material because it is a mild acid, usually 5 percent acidic, which will over time eat the finish right off your wooden floor! As long as the product is PH neutral or close to neutral (meaning it’s not acidic or alkaline) it’s safe to use on modern wood or composite flooring as long as you follow the instructions that come with the product.
Sadly, I have found that many nervous homeowners with new hardwood flooring are adamant about using a certain wood floor cleaning product the sales person recommended to them, even saying anything else would ruin the finish on the floor. This is just a ploy to get the homeowner to hopefully purchase the cleaning product at an inflated price from, you guessed it, the company that installed the floor.
The truth is flooring materials used in modern floor construction are made to endure hard wear and tear for many years and are able to withstand a wide variety of cleaning products. The manufacturers of the floor cleaning products are keenly aware of the flooring materials used today and make certain their products will be safe for most if not all floor materials. It only makes sense since they are trying to sell as much of their floor cleaning product as possible and competition for your hard earned money is steep.
One other word of advice is the old Murphy’s Soap product which is an excellent product to use to wash wooden cabinetry and wooden baseboards and woodwork in the home is not a good choice for today’s modern flooring. Most floors have a clear polyurethane finish on them to protect them and lengthen the useful life of the floor meaning they don’t need to be waxed or oiled.
Murphy’s Soap will over time create an oil deposit which will slowly turn yellow as it ages. This deposit will need to be removed before the floor can be cleaned to look like new again. Murphy’s Soap was made years ago for floors that didn’t have a polyurethane finish but instead had a paste wax put on it.
The manufacturers of Murphy’s Soap do make other products that can be used on modern floors.
Managing Mopping Equipment
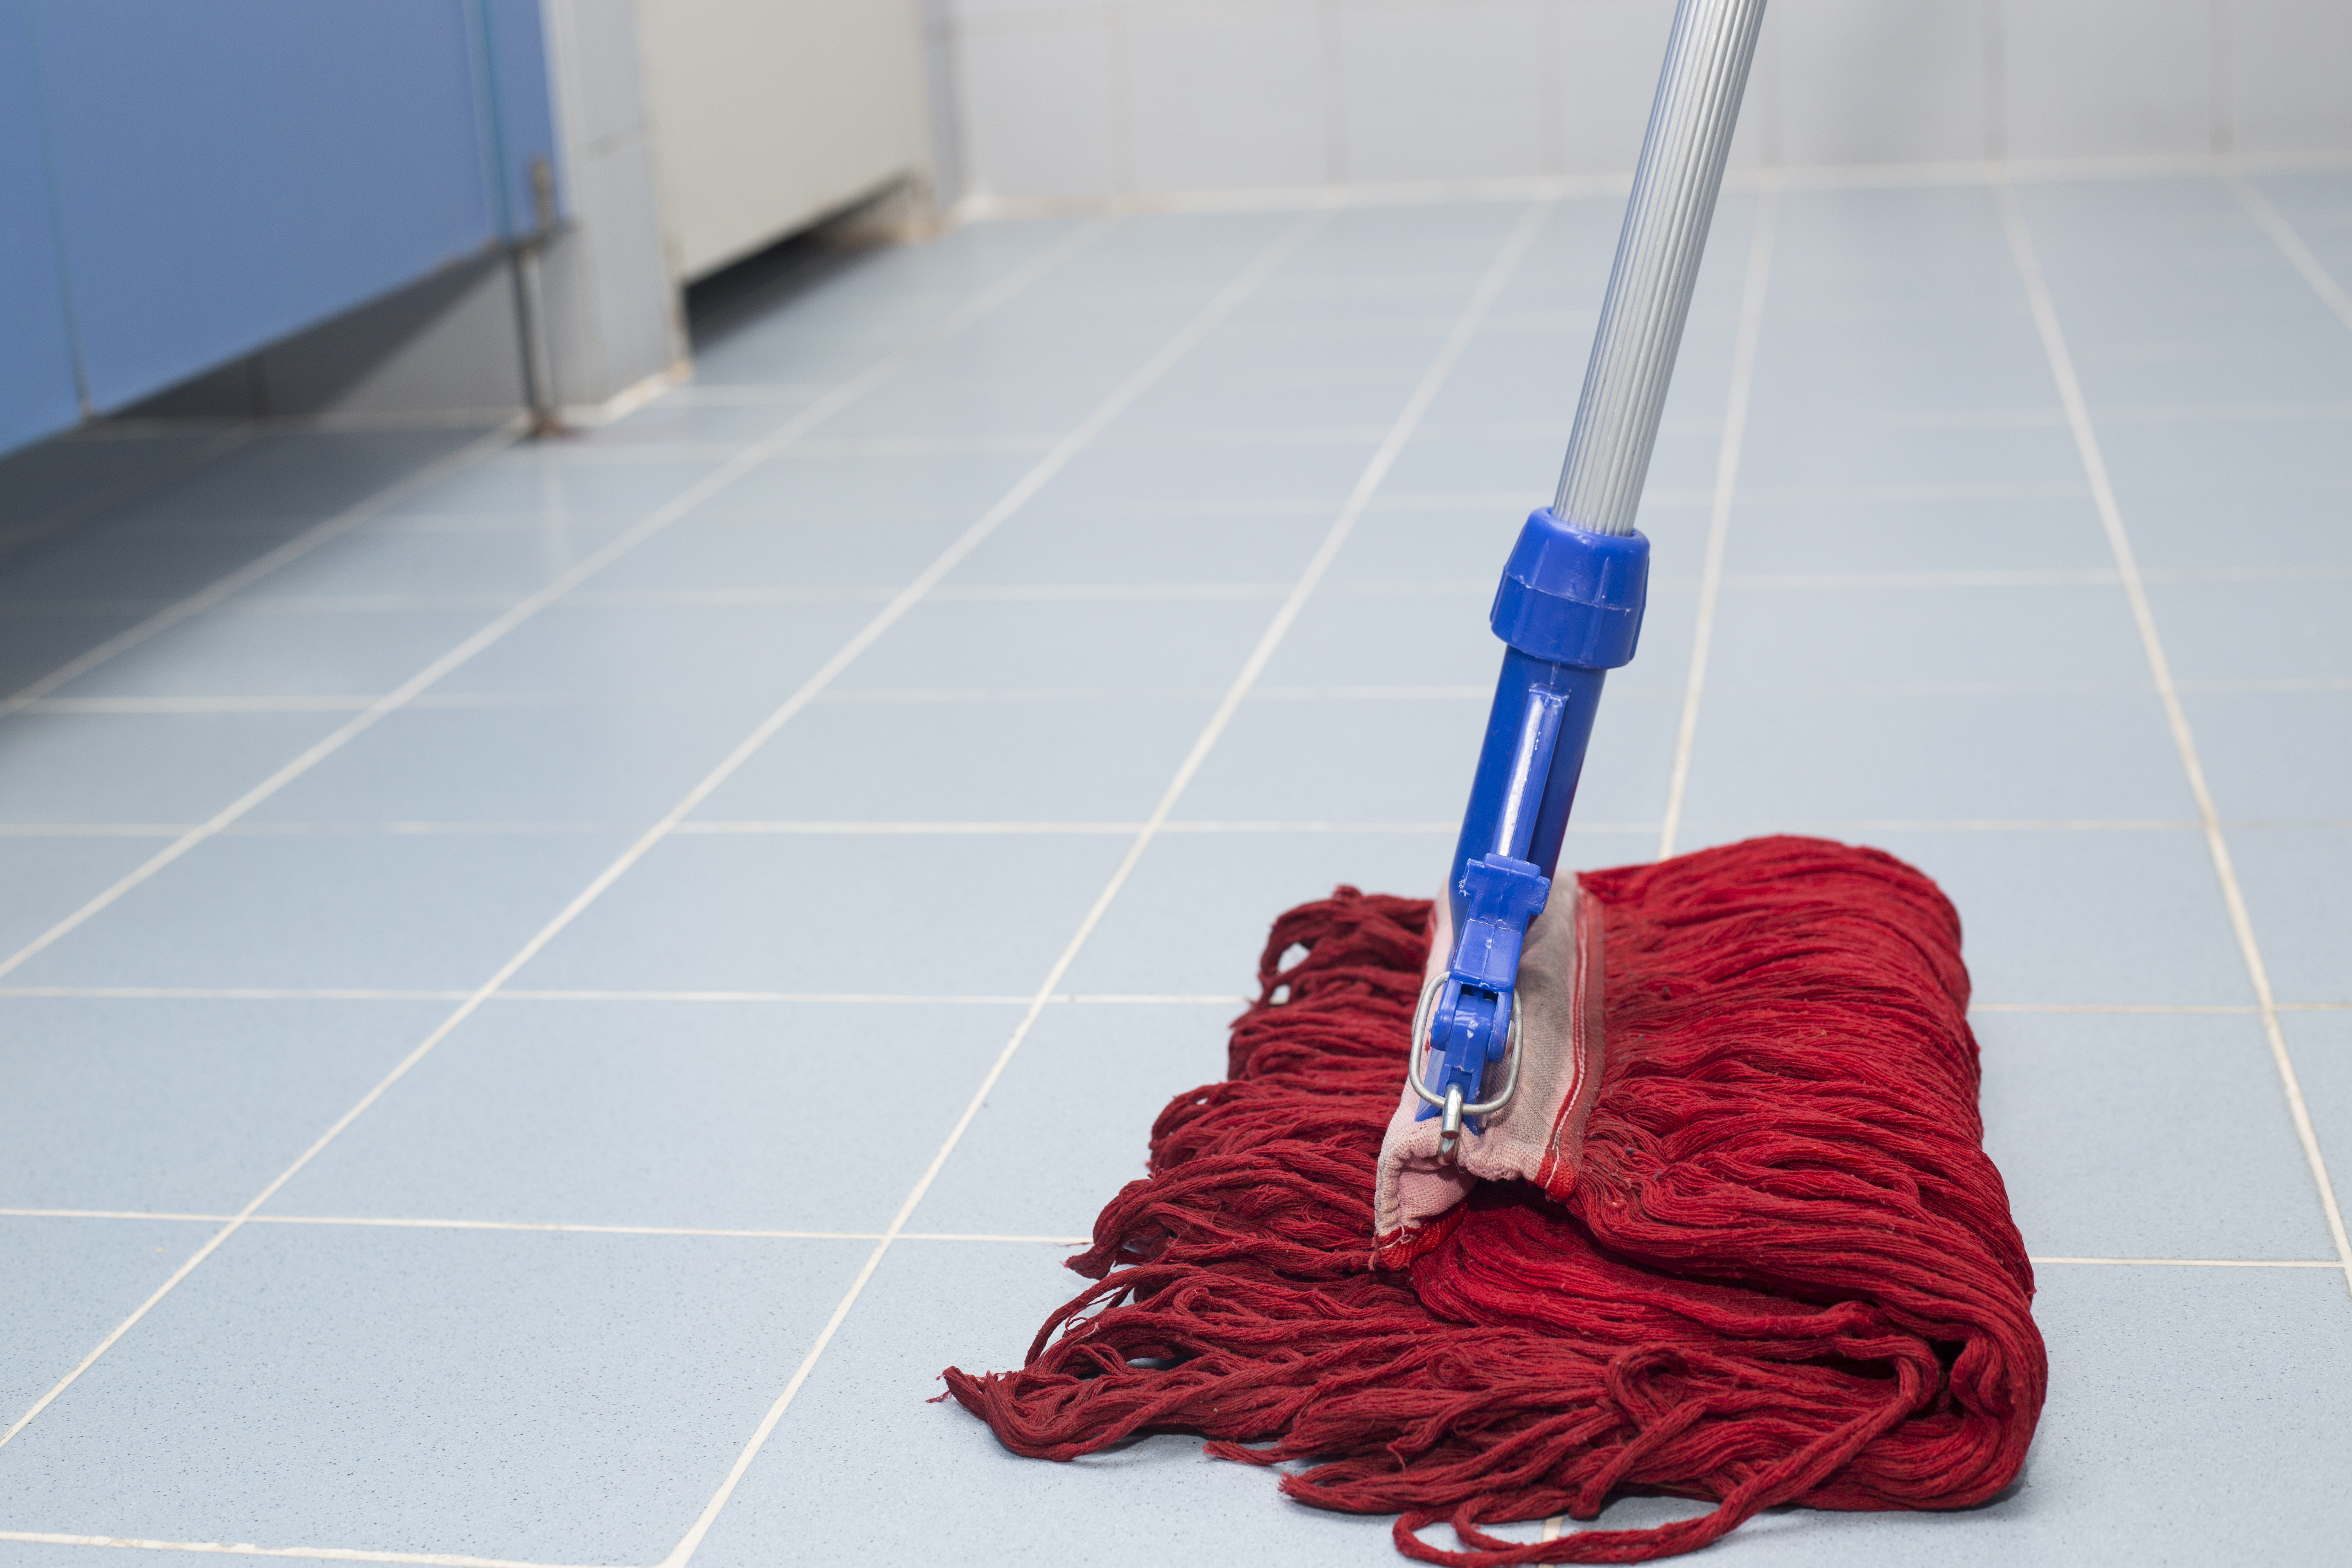
Just as it’s important to consider what material your floor is made of, it’s equally important to use the right tools to get the highest quality outcome for your effort. Many people rely on string mops which have been around for years. I prefer to use a flat terry cloth covered mop for two reasons.
First they cover more area with less work and in less time even though it’s true you need to stop mopping which takes a bit of time to remove the mop cover to rinse it when it gets dirty or too dry to effectively clean. However, the time is more than made up when you are mopping with a flat mop.
The second reason I like terry cloth covered mops are the ease with which they are laundered. Usually, the mop handle length can be adjusted to a comfortable length of your choice. Taking the time to adjust the mop handle will save your back because you’ll not be bending over nearly as much.

How To Mop Your Way To A Fabulously Clean Floor
Pour a small amount of ammonia or your favorite wooden cleaning product (less is best) depending on the floor material you’re going to mop into a clean bucket. Then fill the bucket with between two to three inches of cool water. More water isn’t necessary and means more work – the bucket is heavier.
Begin by dipping your terry cloth mop cover into the water and squeeze it out until it’s not quite dripping wet. You want it wet enough to clean but not dripping water all over the floor.
Caution: if you get your wooden floor too wet the water may seep into the seams on the floor and the wood may swell and possibly split ruining your floor.
Too much water on any floor will cause it to puddle and when it dries show water marks. Too dry a mop and your floors will not come clean. When the mop is wet enough it will glide easily over the surface of the floor but not drip water on the floor.
Mop a three or four-foot square section at a time starting in a corner of the room as far from the entrance to the room as possible and working along the walls first by using the long side of the flat mop. Facing directly the area to be mopped, mop with a side to side motion for less soiled areas. When the floor is dirtier and needs more pressure on the mop to come clean.
I find it’s more effective to push the mop away from and back to yourself while exerting pressure down on the mop handle with one hand and simultaneously using the other hand to push and pull the mop. It’s helpful if you turn sideways to a 90-degree angle from the area you’re mopping in and bend a bit at the waist using this technique.
When the mop becomes too dry or is difficult to move across the floor, remove the cover, rinse and wring it out in the cleaning solution before going on to the next area. I find that I can usually do an entire average size room before needing to rinse again unless the floor is too dirty or muddy or the mop becomes too dry. Work your way out of the room doing three or four-foot sections at a time overlapping each section by an inch or two.
When mopping wooden floors you can mop to clean each section in any direction. But to finish a section you must mop with the grain of the wood meaning mop with the length of each of the wood boards. If you mop against the grain you will likely cause streaks.
Marble, especially dark marble, usually needs to be dried to prevent spots from appearing. In this case, just drop a clean microfiber rag on the floor and dry each section just mopped by using your feet to lightly push the rag around on the wet areas before starting to damp mop a new section. There is little point to getting down on your hands and knees to dry when a foot will control the drying cloth just as easily while saving your knees.
A Few Tips The Pros Use
Never use the same mop cover for ammonia and the wood cleaner. And never combine the ammonia water with the water containing the wooden cleaner. One other tip and an advantage to using a flat terry cloth covered mop instead of the old fashion string mop are that the flat mop covers have two sides and both work equally well. If your mop becomes too dirty on one side just flip it inside out and behold, you have a clean side to mop with!
Floors that are damp mopped with the correct amount of water are dry within a few minutes. Once dry place all throw rugs and any other items removed back onto the floor. The final tip is to find a comfortable chair to sit back in and relax while admiring how clean and shiny your floor is. You might just be the envy of your friends and neighbors.
If you’d like to share your favorite floor cleaning product or add a comment please feel free to. If you liked this article why not share it with others?


