
Way back in the day, walls were made of plaster making them virtually indestructible. Plastering has declined for most home construction. It’s time-consuming and too costly in all but the highest priced homes.
Enter drywall to save the day. Drywall hangs quickly, is fairly easy to work with and less expensive. The downside, drywall cracks easily and doesn’t withstand the abuse a vacuum cleaner might inflict when tumbling down steps and crashing into the wall at the bottom.
Have you ever had a new piece of furniture or a washer and dryer delivered then discover the delivery people caused indentations in a wall? Children can poke holes in drywall covered walls. The housekeeping maid can do damage just as easily.
Drywall cracks as it expands and contracts as it warms and cools to the air temperature and will crack when a home settles. Wet drywall falls apart readily. Fido, the family pup, can damage drywall when he decides to dig a sharp claw into the wall attempting to squash the innocent fly who landed to rest before flitting off to its next aerial adventure.
The staff employed by our Pittsburgh cleaning service have all seen these types of damages and more. When these types of damages happen to drywall, they raise the question of how to complete repairs.
Divide First To Conquer
Thinking about the above damages, you might easily imagine Fido leaving deep gouges using his thick claws. An item like a vacuum cleaner falling several steps might crack or poke a large hole in your wall. A small hole made by a child using a nail daddy had or a pen mommy had, make for quite a different repair than the hole created by the vacuum.
A crack could be slight or deep. Drywall falling apart from a leak is different still. Indentations caused by the installation crew is different than holes made with a nail.
We can summarize these damages into large holes or small holes going all the way through the drywall. And we can see that damages can be larger indentations or smaller indentations that haven’t completely punctured the drywall. Finally, we can image slight hairline cracks or deeper cracks.
Broadly speaking we have damage that hasn’t gone all the way through and damage that went all the way through the drywall. Keep these concepts in mind to effectively assess and repair the problem.
Let’s Tackle The Easy Repairs-Indentation Repairs
Let’s start with the easiest repairs which are the indentations, either larger (like a quarter in size) or smaller (think claw marks). Simply use a putty knife and some spackle which can be bought from your local hardware or home improvement center.
Using a putty knife, scoop out enough spackle to fill the hole and push it into the indentation before smoothing it with the putty knife. If the Spackle does not smooth easily dampen the putty knife with a bit of water and the spackle should be even with the wall when completed properly. Let it dry for 24 hours then prime first before painting.
How To Easily Repair Large Or Small Cracks
More challenging, but still easy to repair, are cracks caused from settling or changing temperatures. If the crack is thin you’ll need to enlarge it! Thin cracks don’t hold putty or spackle very well.
To start, use an old screwdriver and scrape out the crack to widen it. Some say to open it to 1/4 inch wide, but you don’t need to make it that large, instead 1/16 to 1/8 inch will do nicely. Scraping the crack also removes loose material enhancing repairs.
Instead of spackle use caulking for this repair by squeezing a bit of caulking onto a plate or saucer that you don’t need. Add a drop or two of cold water to caulking and mix with your putty knife. Thinning the caulking a bit helps using this technique.
I recommend caulking because it expands and contracts as the crack expands and contracts which ensures a more durable repair that outlasts spackle. The caulking should be slightly thinned before using the putty knife to fill the crack. Fill the crack until it’s even with the wall and wait 24 hours before priming and painting.
Any crack more than 1/4″ wide doesn’t work with this technique.
Easy Repair For Larger Holes – Use Backing Material
This type of repair is more challenging and addresses holes that are smaller than a tennis ball and completely through the drywall. Brush out the hole’s inside edges removing loose material before beginning the repairs. Stuff the hole with a crumbled sheet of paper which provides a backing preventing your patch from going through and falling behind the wall.
For holes larger than a tennis ball, cut a piece of metal wire mesh and bend it so it fits into the hole and gets caught on the drywall as you push it into the hole. This takes practice to get the hang of it. The mesh must be a bit larger than the hole but able to fit in the hole when bent slightly.
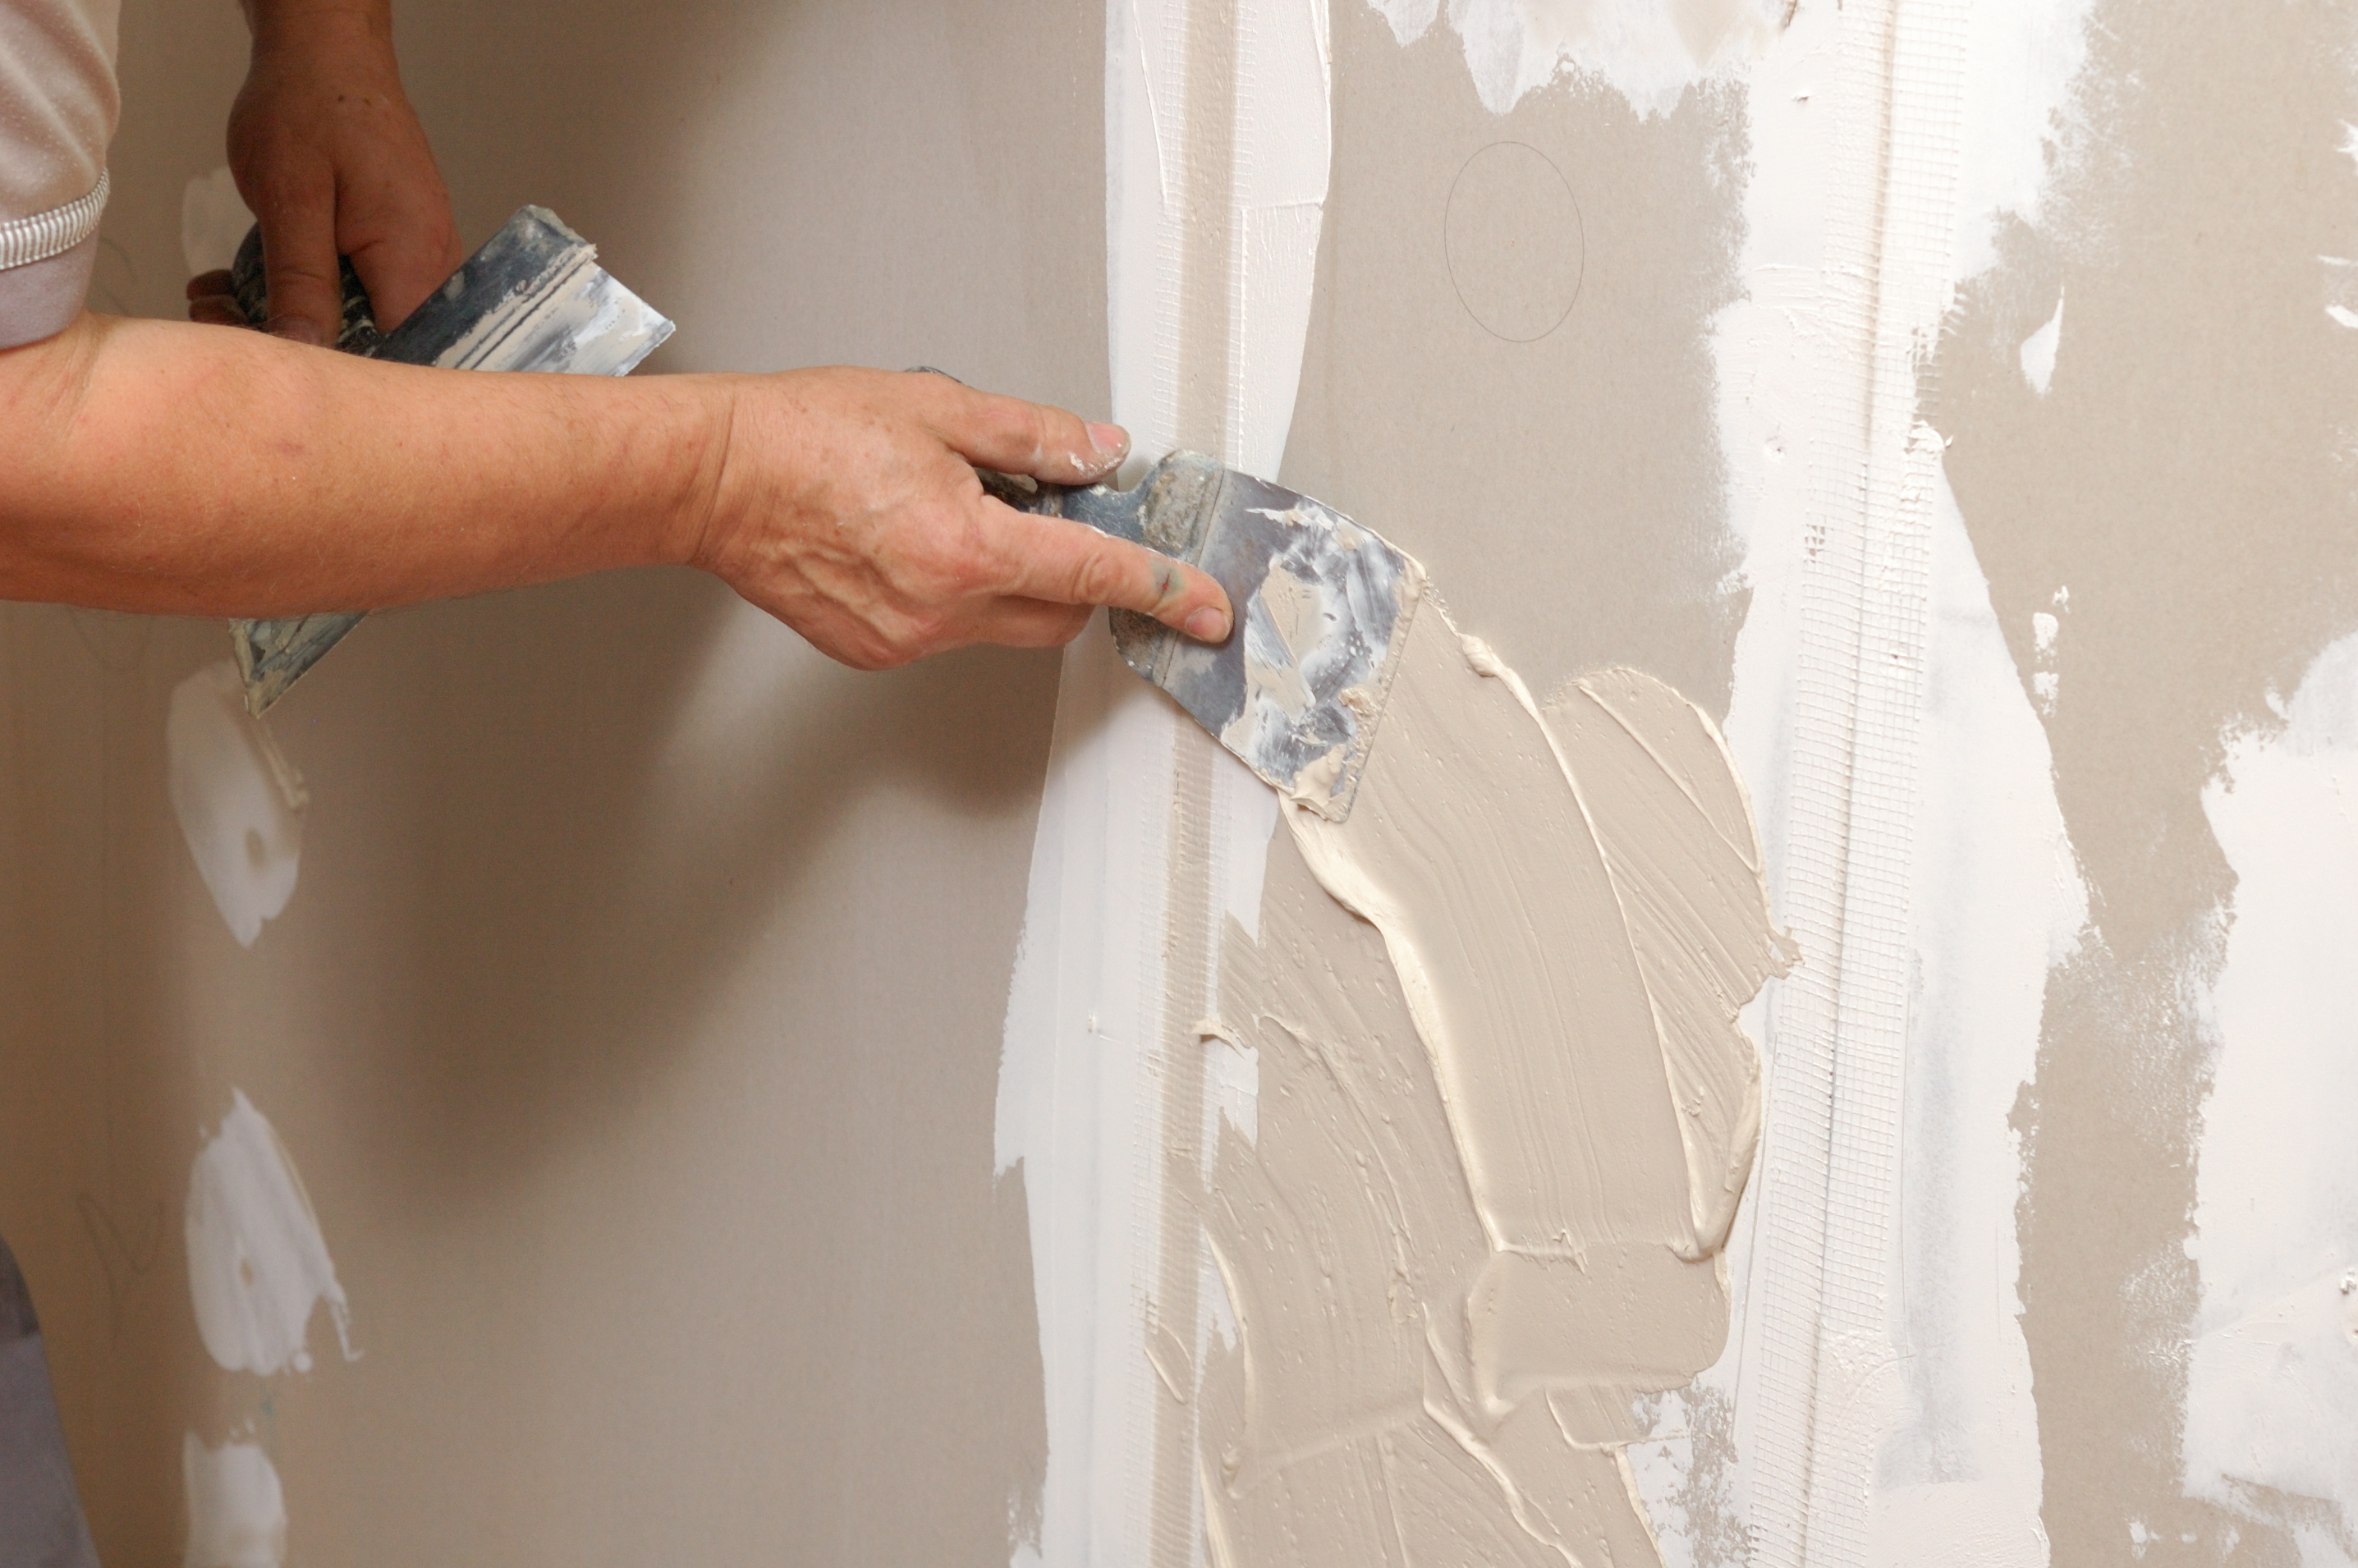
Use joint compound or spackle for this repair and start by using your putty knife forcing filler into the backing and the insides of the hole. Continue working around the hole pushing filler into the mesh and insides of the hole working toward the center of the hole building your filler up until the patch is level with the wall.
Let patch dry completely which can take days depending on how large the hole is. If the patch shrinks below the surface of the wall, add more filler. When the patch is dried and even with the wall, prime and paint it. If the patch sticks out above the wall use sanding screen to sand it flush with the wall before priming and painting.
For holes larger than a tennis ball but smaller than 24 inches cut a piece of drywall a little larger than the hole. Poke a small hole in the middle of the drywall and slip a string through it. Tie several knots in the string until the knot grows large enough so when pulling from the other side the knot will keep the string from coming back out of the hole.
Holding the string from the front, tilt the drywall sideways to push it into the hole until it passes the back of the hole and ends up behind the broken drywall. Keep light tension on the string the entire time and position the drywall behind the hole.
Continue pulling on the string to keep the drywall in place, as you fill the hole with quick-set patching plaster. Quick-set plaster adheres to the backing and sticks to the inside of the hole. The trick is to work around the hole while keeping the string tight to prevent the drywall backing from slipping.
Within a few minutes, the quick-set will dry enough and hold the backing in place. When the backing is secure without having to keep the string taut, cut the string before beginning to fill the rest of the hole. Let each coat dry before adding more filler and when the patch is dry completely sand, prime and paint as before.
For holes larger than 24 inches cut a piece of drywall and nail to a wood stud before patching. Use joint compound for patches of this size. You’ll need to use joint tape to cover the cracks for this repair but if your hole was caused by a leak remember to cut out any remaining drywall that’s wet before making repairs.
Final Thoughts
As you can tell, different hole sizes and the hole depths call for different repair techniques. Once you’ve made a few repairs all hole repairs become second nature.
Learning these techniques will save you a bundle over a lifetime. You’ll also get the satisfaction of knowing your repairs are done like a professional would do them! Happy patching.
Leave your comments below and share this article on your social platforms if you found it useful. Thanks for reading and we look forward to seeing you next time.
1 Comment