I remember as a little boy living in the Burg we had wallpaper, that was actually made of paper, everywhere in our home. Every once in a while dad would buy a can of wallpaper cleaner. We would take it out of the can and rub it all over the wallpaper and marvel at how clean the green putty-like substance would get the wallpaper.
That was a long time ago and wallpaper today is usually made out of vinyl meaning you can carefully wash it with water.
Learning how to wash walls and ceilings can save you a bundle in lieu of painting which can cost from $800 to upwards of $1600 for a large living room depending on how large your room is and the contractor you hire! While not a glamorous subject, there’s a correct way to professionally wash walls and ceilings.
Some folks will opt to hire out the work because it is labor intensive. This is easier said than done is some areas because though in some cases cleaning companies will provide wall washing but often, as is the case in our Pittsburgh Pa. area, most don’t which means this project is more than likely to fall on your plate.
I have chatted with a few folks who believe they understand wall and ceiling cleaning and treat it as if there are no tricks and secrets to doing the job right. Nothing could be farther from the truth.
Over the years in the house cleaning industry, a frequent question that pops up when it comes to wall washing is do you start at the top and work your way down or do you start at the bottom and work your way up.
Some folk reason it’s like painting a wall which means you start at the top and work your way down? Wrong! And for reasons that I can’t explain, well I can explain the reason but I can’t explain the phenomenon which is beyond the scope of this writing and might be best left for a chemical engineer or scientist.
So let’s begin to understand how to handle a wall and ceiling washing project.
Hindrances To Wall and Ceiling Washing
There are five main things that will make this project distasteful, at least more than it has to be. I am sure there is a myriad of other items as well, such as the family dog that is in the way, but these five will cover most cases. They are:
- The wrong tools or supplies
- Pictures, artwork, mirrors any other items hanging on the walls
- Chandeliers and Ceiling Fans
- Furniture near or up against the walls
- Poor lighting
Gather Tools Needed For Walls and Ceilings
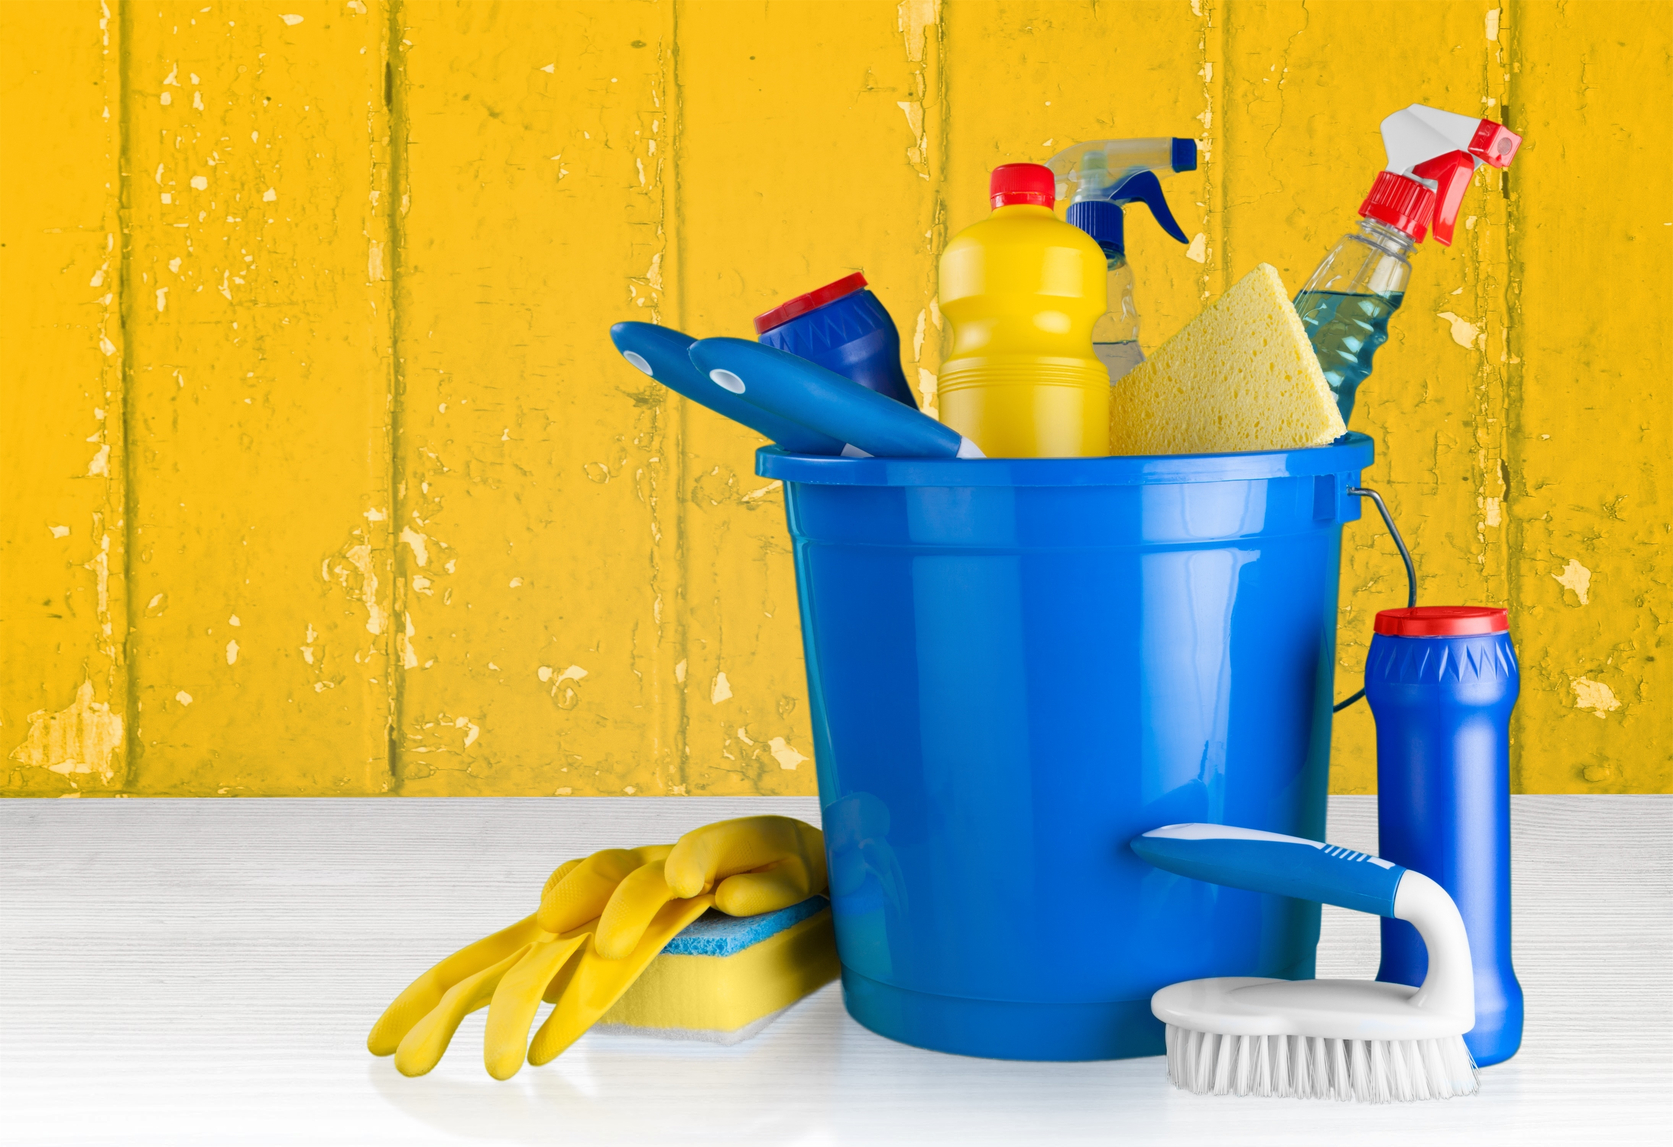
Before beginning, you will need to gather a few inexpensive supplies and tools. Be certain to gather all you need before you start. Nothing can exasperate me more than starting a project and discovering that I need to stop to find something that I should’ve found before starting. Our short list of supplies follows:
- One bucket with a handle (Some advocate 2 buckets – one for washing and one for rinsing. No-rinse solutions are best saving time and your back. The product I recommend requires no rinsing and does a superb job of removing dirt.
- A natural sea sponge for washing (not as durable as man-made sponges but is gentle on paint)
- A toothbrush – to clean in the nooks and crannies.
- A high quality, no rinse soap product (I like Soilmax.)
- A pair of rubber gloves.
- Goggles for ceiling work.
- A two-step stool or possibly a ladder if the walls or ceiling are high up.
- A high-quality ostrich feather duster to dust the walls before washing (Saves time and makes washing much easier.)
- Several old towels to place on the floor to catch dripping or running water (aids in keeping your carpets and floor clean and more importantly dry.)
Heed This Warning Before Washing
Before starting this project, it’s important to understand what type of paint you’ve on your walls and ceiling. The only caution here is if you’ve flat paint. Flat paint can’t be washed but must be re-painted instead.
Washing flat paint will remove the dirt for certain by removing the paint as well! Usually, walls will be painted with a gloss, a semi-gloss or a satin finish meaning they can be washed. However, sometimes, even though walls can be washed a ceiling will have been painted with flat paint and will need re-painting instead of washing.
Surprisingly, as mentioned before, wallpaper can more often than not be washed because oddly enough it’s usually made from a vinyl material. Who would have known? In any case, test wallpaper first in an inconspicuous area before beginning just to be certain it doesn’t loosen or break down from the dampness.
Prepare Walls and Ceilings Before Starting
So now you’re ready to get started. Hold your horses, not so fast. Follow the next six points to make your time washing the walls and ceiling much easier and more productive.
- Remove all mirrors, picture frames, and any other items hanging on your walls (tip: put a piece of masking tape on the nails to prevent your fingers from getting cut when washing.)
- Turn off the current that runs to any ceiling fan or chandelier.
- Pull furniture away from your walls at least four feet or more if you have the room.
- Remove curtains to keep them safe but also to get a much natural light into the room as possible.
- Using your feather duster dust all the walls and possibly ceilings, if needed, starting from the top working your way down to the floor. (This step will save you some time and hard labor – especially if you have cobwebs and a lot of loose surface dirt. There is no cogent reason to wash the dirt away when you can quickly and easily dust it away with a long-handled feather duster.)
- Roll your towels in a loose roll and lay them on the floor up against the wall to catch dripping water.
Get Ready – Get Set – Start Washing
Follow the directions on the Soilmax box and pour what they say into the bucket for your particular cleaning needs. Run hot water into the bucket while stirring the water to ensure the Soilmax is dissolved completely.
Put on your rubber gloves before you begin to wash the walls to save your hands from drying out.
Dip the sponge into the hot water and squeeze out the excess water just enough to keep it from dripping. You want it wet but not dripping water all over the walls and floor.
If you are washing the ceiling be sure to wear your goggles to prevent soapy water drips from getting into your eyes. Use your step stool or a ladder to get close to the ceiling and thereby reduce stretching which will tire you out and make this project more difficult than it needs to be.
Starting at a corner and using a circular motion begin scrubbing a three or four-foot square area. Rinse your sponge as needed (see 6 below). After the first section is completed, continue by moving over and beginning to working a second three or four-foot square area. Be sure to overlap the first area by an inch or two. Continue working your way around the room until the entire ceiling is completed.
Be careful around ceiling fans and chandeliers as water and electric don’t mix well and ceiling fans can easily slice up fingers and arms when spinning. You did remember to turn off the current before starting, right?
Attack the walls by starting at a corner. If you have baseboards begin by starting to clean a stretch of baseboard three or four foot long.
In either case, when you start the walls begin to scrub in a circular motion at the bottom near the floor or just above the baseboard if you have baseboards. Clean a square area three or four foot – a size that is comfortable and easy for you to reach.
Some people suggest working from the top down which is a mistake, trust me on this one, I have tried both. When running water from the top runs down over the dirty walls below it will streak and cause you to work extra hard to get the steaks out. I can’t explain the phenomenon but for some reason it’s true.
Use your toothbrush as needed to scrub hard to reach places such as around switch plates, corners, where the wall meets the baseboard and around molding or chair rails if you have them.
Rinse out your sponge as needed when it becomes dirty or too dry. If you don’t take the time to rinse often enough you will be disappointed with the results. At a minimum, you should rinse after every three or four-foot area is completed before going to the next area.
When the area nearest the floor is completed, continue by scrubbing another three or four-foot square area just above the one you completed being certain to overlap the first area by an inch or two with the new area you are working on. When this area is completed, move above it and start to clean the next area in like fashion.
Continue, in this manner, until you reach the ceiling. You may need to use your step stool or ladder depending on how high up your walls run to the ceiling. If any water runs down the wall to an area you have already completed just wipe it with a towel to remove it. This is sweet because you’ll not encounter any streaks like you would’ve if you were working from the top down.
If you’ve taken the time to put a small piece of masking tape on any nails in the wall you have a clear indication of where the nails are, otherwise be extra careful or you’ll risk cutting your fingers quite easily. I wish I knew about the masking tape trick the last time I washed walls.
After you’ve cleaned a wall area from the floor to the ceiling it’s time to shift to the right or left a few feet depending on which way you’re working your way around the room.
Start scrubbing at the bottom as before and work upward in three or four-foot areas that are comfortable and easy to reach. Overlap each new area by an inch or so to the area next to it and below it that has already been cleaned. Work your way around the room until all walls and baseboards (if you have them) are cleaned.
While Washing A Few Tips to Bear in Mind
This work can be physically intensive, especially ceilings. Accidents and injuries are more likely to happen when you’re tired. If and when you get tired take a breather. But if you need to take a break try first to complete a whole wall by working until you reach a corner before stopping to rest. This helps to prevent streaking.
The less stretching you do the easier it is to complete this project. Take the time to move your step stool or ladder as needed. Work in small enough areas that are easy and comfortable to reach.
Hot water works better than cold water. When your water becomes dirty or cool to the touch change it. Depending on how dirty your walls and ceiling are, you may need to change it frequently.
Stop to use your toothbrush when needed – your fingers will thank you.
Wear your goggles when cleaning the ceiling. Wearing them when washing the walls is a wise move as well. Your eyes will thank you because the soap you’re using to clean the walls and ceiling can be quite harsh on your eyes.
A spoonful of sugar helps the medicine go down, the medicine go down, the medicine go down… Okay, so I can’t sing very well. But music helps me to get a tough job completed and it might be what the doctor ordered for you as well. A radio nearby blasting out a song that energizes one for work, is helpful for most folks.
That’s about it. If you have ideas or like our article please share in the comments box. We would love to hear from you. Please take a moment to share this article if you found it useful.
Thanks for reading and check out a few of our other cleaning articles.

2 Comments
Rosanne Sanders
sander.rose54@yahoo.com I have used a sponge mop and I have had good results and I also use a TSP solution according to the directions it cuts the dirt easily. The sponge mop is easier to rinse off the dirty section a lot better than a cloth or regular sponge. Have you ever tried this process?
Strawberry Girl
I need to ask the same question regarding sponge mops: would it be easier, but come out just as well, to use a sponge mop for ceilings? Would love to have the author’s opinion on that.